Bread is a pantry stapple that has been around for millennia, with each culture having their own version of this delicious treat that they have eaten for generations. Cheap and (according to some) easy to make, this treat has always had the same problem, it is hard to preserve. Most cultures have gotten around this issues by making it smaller and churning it out every day in dedicated bakeries, but there is still the small problem of individuals purchasing too much of it and it going stale at home.
This has made people resourceful and over the centuries millions of recipes have been invented to use this stale bread, like breadcrumbs, French toast, bread soup and many more, but, with the advancements on kitchen tech and gadgets, what if we want to eat that treat that we purchased just as it is, no modifications?
We all know that leaving it on the counter, even if you have a bread bin, will only work for one or two days, after which it will become hard as a rock and unsalvageable even if it is only to make toast. Your best bet at that point is to transform it into crumbs or into one of the million recipes we have mentioned before.
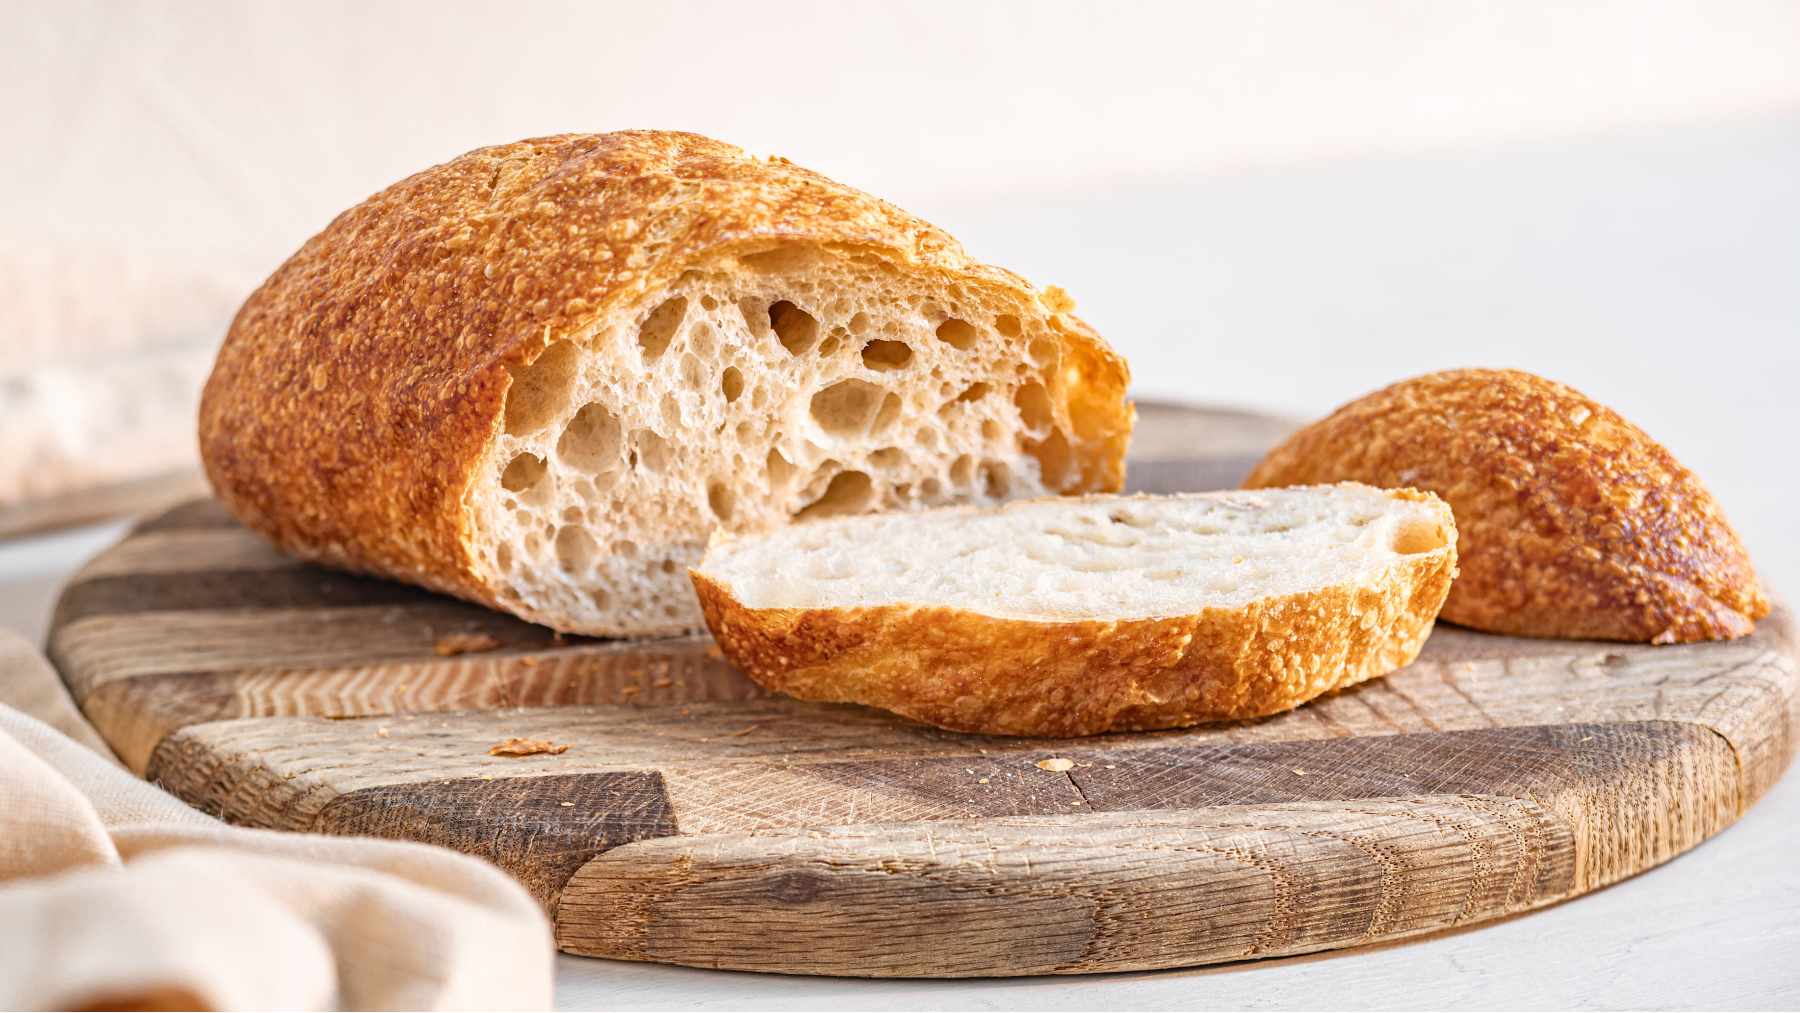
Freezing it is the best option as long as you do it before it becomes stale, as it gives it the best chance of survival and the best flavor once defrosted, but freezing bread comes with its own sets of problems, as it can become gummy and can lose what many consider to be the best part of the bread, the crust.
How to properly freeze your bread so that it tastes good after defrosting
Well, the first thing you want to do is wrap your bread before putting it into the freezer. While this might not be as important if you are just planning to make toast with it, if you are freezing an entire loaf to feed your family or share with friends at a dinner party, the difference between a well frozen and defrosted loaf is quite noticeable. So warp the bread it is.
In an ideal world you would be able to use tightly wrapped plastic wrap or a zip-lock freezer bag, squeezing out all the air before sealing it. This prevents the bread from trapping moisture from the environment and becoming soggy when defrosted, keeping it fresher for longer. But that is just the simplest way to do it.
If the bread has a hard crust (like a baguette or a loaf), you should add an extra layer of protection, first wrapping the loaf in baking paper and then the freezer bag. This helps maintain the texture of the crust, which is the most delicate part and what is prone to being ruined first in the cold.
Another small tip is to put the bread at the back of a freezer drawer, as this will avoid the most temperature fluctuations every time you open the door and will prevent it from forming crystals that will then make the defrosting process more difficult for you.
Now that you have mastered freezing, what about defrosting? Well, leaving it uncovered at room temperature on a wire rack works wonders, but if you want a truly crispy crust, you are going to have to use the oven. To get the best results, preheat the oven to 180-200°C ad have some kind of water receptacle placed bow it. There does not need to be a lot of water, just a bit to create steam and ensure that the bread does not dry out too much. Once that is one, put the bread in for 10-15 minutes or until it is fully defrosted and the crust is to your satisfaction.